728x90
반응형
📜 오류 발생
vercel에 연동된 Next.js 프로젝트에 postgres를 연동하던중 아래와 같은 오류가 발생하였다.
Error while fetching side menu data: VercelPostgresError: VercelPostgresError - 'missing_connection_string': You did not supply a 'connectionString' and no 'POSTGRES_URL' env var was found.
오류상으로는 'connectionString', 'POSTGRES_URL'에 대해서만 나와서 다른 문제라고는 생각하지 못했는데
생각보다 간단한 문제로 나던 오류였다.
💊 해결 방법
postgres 데이터를 직접 불러오는 파일이 클라이언트 컴포넌트 상태라서 생기는 문제였다.
'use server'를 파일 상단에 입력하여 서버 컴포넌트로 변경시키는 것으로 간단하게 해결되었다.
'use server'

import { sql } from "@vercel/postgres";

interface MenuItem {
  id: number;
  name: string;
  description: string;
  link: string;
  sub_menus: SubMenuItem[];
}

interface SubMenuItem {
  id: number;
  name: string;
  description: string;
  link: string;
}

export async function getSideMenuData(): Promise<MenuItem[]> {
    try {
      const { rows }: { rows: MenuItem[] } = await sql`SELECT
        m.id AS id,
        m.name AS name,
        m.description AS description,
        m.link AS link,
        COALESCE(json_agg(json_build_object('id', sub.id, 'name', sub.name, 'description', sub.description, 'link', sub.link)) FILTER (WHERE sub.id IS NOT NULL), '[]') AS sub_menus
        FROM
        side_menu AS m
        LEFT JOIN
        side_menu AS sub ON m.id = sub.parent_id
        WHERE
        m.parent_id IS NULL
        GROUP BY
        m.id;
      `;
      return rows;
    } catch (error) {
      throw new Error('Failed to fetch side menu data');
    }
  }
728x90
반응형
'Frontend > 트러블슈팅' 카테고리의 다른 글
| [Sourcetree] '올바른 원본 경로/URL이 아닙니다' 오류 해결 (0) | 2024.03.21 |
|---|---|
| [Github/Sourcetree] fatal: Authentication failed for ... 오류 해결 (0) | 2024.03.21 |
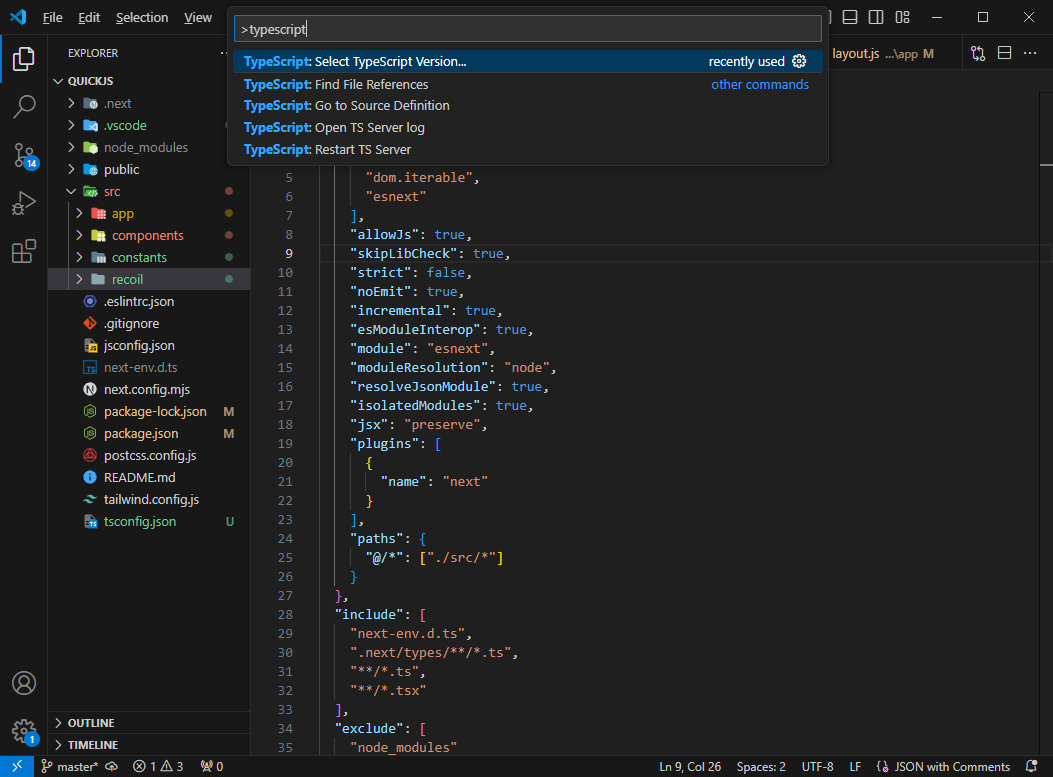
| [Next.js] cannot use jsx unless the '--jsx' flag is provided 오류 해결 (0) | 2024.03.13 |
| [Next.js] Error: NextRouter was not mounted 오류 해결 (0) | 2024.03.12 |
| [react] usesyncexternalstore is not a function 오류 해결 (0) | 2024.01.22 |